Gravure printing process is a multi step procedure which requires a number of machines and professional people. In this article each of the steps in the Gravure printing process is explaned from beginning of the process to the finish stamp product. A sample picture of each step is shown in the process.
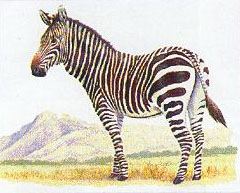
Step 1 - develop an image of the stamp using either an artist or photographer.
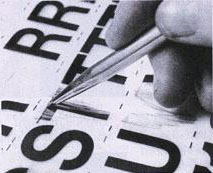
Step 2 - overlay text using the Letraset process which is created on transparent film.
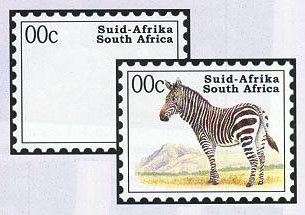
Step 3 & 4 - combines the text overlay created in step 2 and the image created in step 1. The text overlay is placed over the artwork to indicate to the printer the position of the text and stamp frame in relation to the artwork.
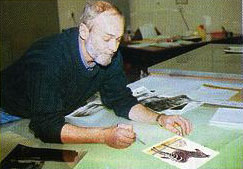
Step 5 - present the text overlay and stamp image created in the previous steps to the printer for review.
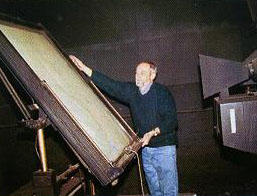
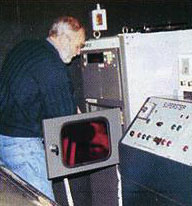
Step 6 - setup the artwork on a copyboard so it can be photograph.
Step 7 - focus the lens of the camera on the artwork and then photograph the artwork. This will combine the stamp image with the text
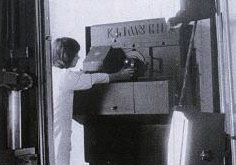
Step 8 - use a scanner to separate the colors of the photographed combined image.
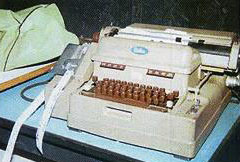
Step 9 - when the stamp is ready for printing, it goes through the step-and-repeat machine which multiplies the stamp image to make up a stamp sheet. The step-and-repeat distance (pitch) has been punched onto a tape.
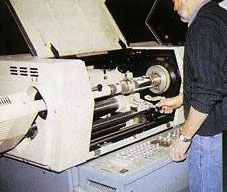
Step 10 - The tape created in step 9 is inserted into the step-and-repeat machine. Once inside the machine, the tape tells the machine how far apart to position the stamps on the film.
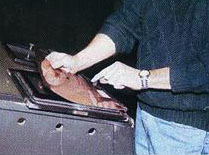
Step 11 - the stamp sheet film is now placed in a holding frame. The stamp design was enlarged to 250% in step 10
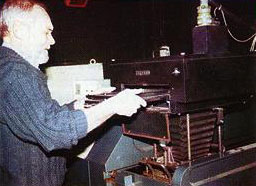
Step 12 - the holding frame is inserted into step-and-repeat machine.
Note: Technical information and Pictures were taken form Setempe Philatelic Magazine published by the South African Postal Service.