
Stamp Printing Process using Computer Techniques is a multi step procedure which requires a number of machines and professional people. In this article each of the steps in the printing process is explained from beginning of the process to the finish stamp product. A sample picture of each step is shown in the process.
Step 1 - A artist is briefed by Philatelic Services to create preliminary sketches for approval before proceeding with final art work.
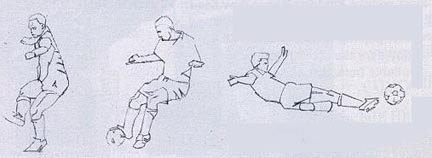
Step 2 - The Preliminary sketches of the stamp are prepared by the artist and submitted to Philatelic Services for approval. Some examples of the sketches are show below.
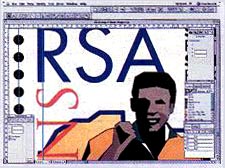
Step 3 - The Final artwork of the stamp is created by the artist using a computer software program called Macromedia Freehand.
Step 4 - After completion, the artist hands the design over to philatelic Services on a disk accompanied by a computer print-out of the designs.

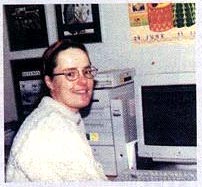
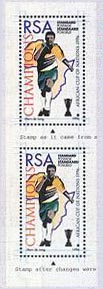
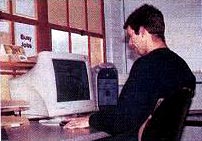
Step 5 - A design artist at Philatelic Services transfers the artist's designs to her computer. Some adjustments are made to create a final file which is copied to an optical disk to send to the printers.
Step 6 - Perforation and print area sizes differ from printer to printer. Each new stamp layout has to be adjusted and fitted into the selected printer specification.
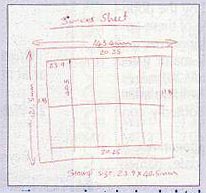
Step 7 - The stamp sheet size is calculated according to the printer's specification.
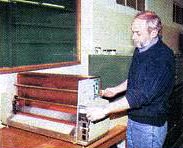
Step 8 - The final product is sent to the printer for acceptance. If Ok, the printer enters the file into their computer system.
Step 9 - Before printing the stamps, the printer creates a chromalin proof (color proof) indicating the correct colors. The chromalin paper is covered with a light-sensitive coating.
Step 10 - The positive chromalin paper is exposed to light.

Note: Technical information and Pictures were taken form Setempe Philatelic Magazine published by the South African Postal Service.