
Stamp Printing Process using Manual and Computer Techniques is a multi step procedure which requires a number of machines and professional people. In this article each of the steps in the printing process is explained from beginning of the process to the finish stamp product. A sample picture of each step is shown in the process.
Step 1 - A artist is briefed by Philatelic Services to create preliminary sketches for approval before proceeding with final art work.
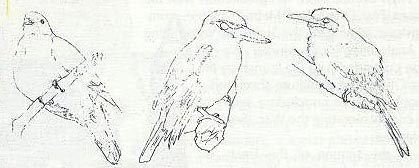
Step 2 - Examples of Preliminary sketches of the stamp prepared by the artist.
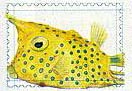
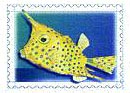
Step 3 - Final artwork of the stamp.

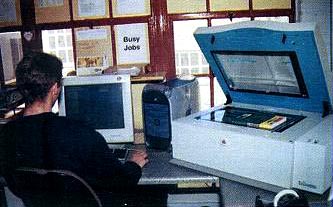
Step 4 - The final artwork is given to Philatelic Services graphic designer who scans them as low resolution images. The graphic designer then starts with the stamp layout on computer.

Step 5 - Some of the different stages in the design process.

Step 6 - when the layout and design are approved, the artwork is sent to a reproduction house for high resolution scanning. Color proofs are made of the scans to check if the colors match the artwork exactly.
Step 7 - Color adjustments are made if the colors do not match those on the original artwork. The approved high-resolution scans are placed on a CD and sent back to Philatelic Services design artist for final layout.

Step 8 - The artist places the high resolution scan inside the stamp frame and adjust the artwork to fit into the stamp frame.

Step 9 - The artist experiments with different background colors and blends.
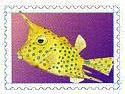

Step 10 - The lettering is then placed in position to complete the stamp layout.

Note: Technical information and Pictures were taken form Setempe Philatelic Magazine published by the South African Postal Service.